Scan with your iPhone
Use a LiDAR-equipped iPhone and a scanning app such as Polycam. Capture every wall, window and doorway.

An iPhone. A room full of possibility. And a conversation that turned it into a plan.
Explore the room ↓We started with a real bedroom, scanned it, checked its dimensions, and built a model. Then we moved furniture, changed our minds, found pieces we could actually buy, and turned the decisions into an order list.
This is that process — using the actual scans, plans and design images from Olivia’s room.
A LiDAR scan captures the room’s shape and context. A few real measurements give the model a reliable starting point.
3D isn’t available in this browser. The static preview above shows the scanned room.
Use a LiDAR-equipped iPhone and a scanning app such as Polycam. Capture every wall, window and doorway.
Upload the 3D export — here, a GLB — along with the app’s floor plan and a few room photos.
Width, length and ceiling height. Add door and window measurements wherever fit matters. We used inches throughout.
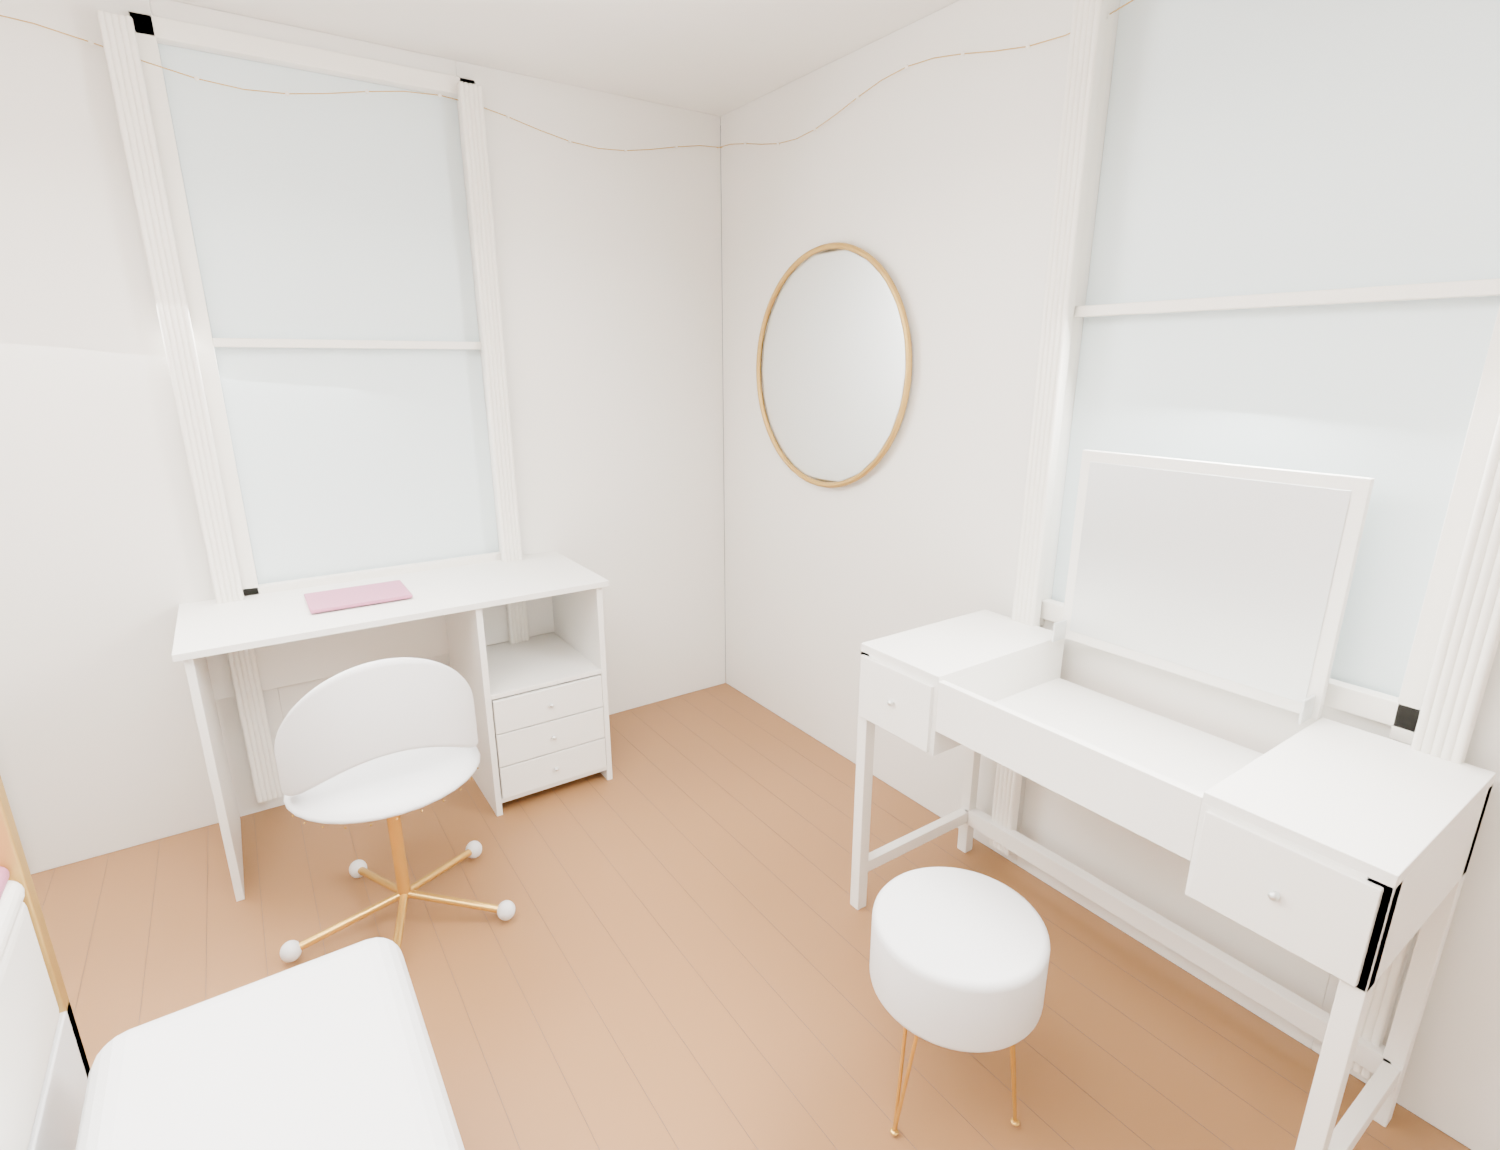
Build the room in Blender, then look down from above and straight at each wall. Openings, furniture footprints and clearances become much easier to discuss.
Walls, windows and doors become a reusable model with real dimensions.
Check furniture footprints, circulation and the gaps you’ll actually live with.
See window heights, door positions and the wall space available for storage.
Soft pinks, warm whites, brass, a canopy and a room to grow into. The design got better as we tried alternatives and replaced placeholders with real products.
Three closets became two PAX units plus open shelves. The bench moved to the foot of the bed. The vanity and desk moved under separate windows. Each change was a new conversation with the same room model.
Every selection was checked against real product dimensions before it went into the layout — so the pretty picture and the thing you can actually buy stayed the same object.
First, render the final layout in Blender. Then give that camera view and the real product photos to image generation for a lifelike finish.

One shared Google Sheet holds real product links, quantities, dimensions, prices and order status. When a piece is ordered, its row fades to grey.
The live sheet contains the current decisions and order notes. Access follows its existing Google sharing permissions.
Once the measurements, finishes, quantities and budget are confirmed, an assistant can help prepare carts and walk through checkout where supported — from furniture to paint and lighting. Review the final totals and delivery details, then approve purchases through secure checkout.
Purchases weren’t automated in this case study. The user placed orders and we tracked them together.